
How to Configure Sitecore Search API Crawler: A step-by-step guide

Sitecore Search is a key tool in Sitecore CMS that helps you organize and search through your
web content. Configuring Sitecore Search for web crawling ensures that your content is
properly indexed and searchable.
To set up Sitecore Search on XM Cloud, you need to create a Web Crawler or Advanced Web
Crawler source. This process involves defining what content should be crawled, setting up
triggers for when crawling happens and deciding how the content is extracted.
Prerequisites
Before you begin, make sure:
- You have access to the Sitecore Cloud Portal
- Sitecore Search is enabled for your XM Cloud environment
- You have appropriate permissions to configure sources.
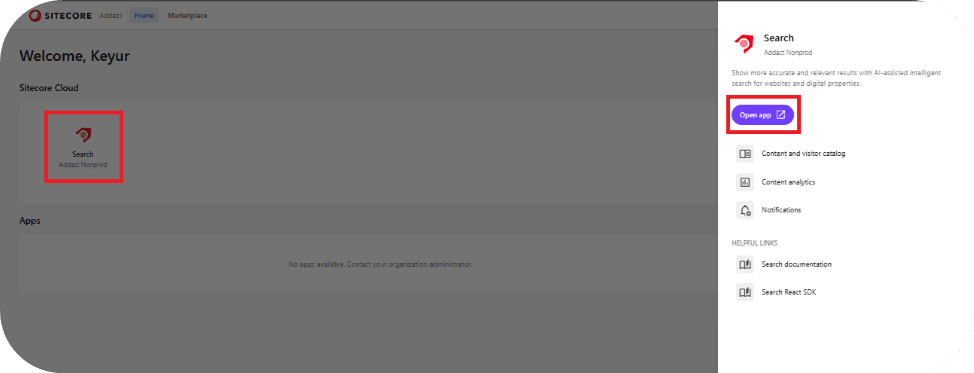
After creating the Search App, click on the Search App icon and select Open App. This will take you to the main dashboard.
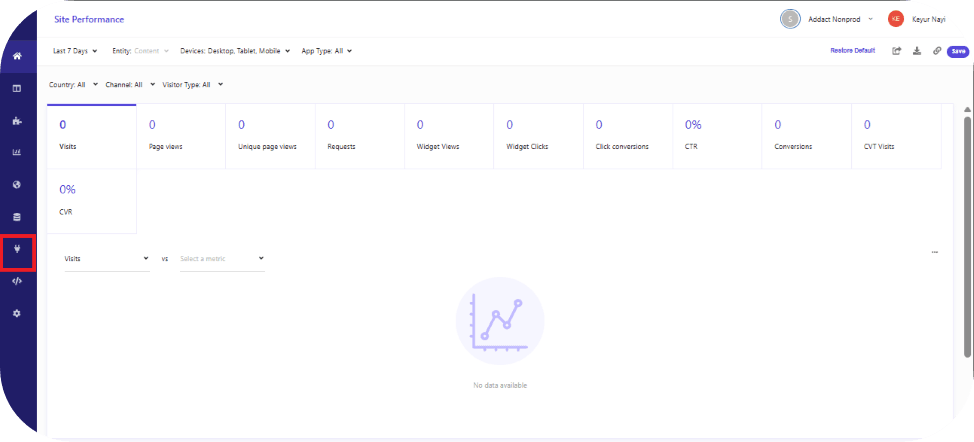
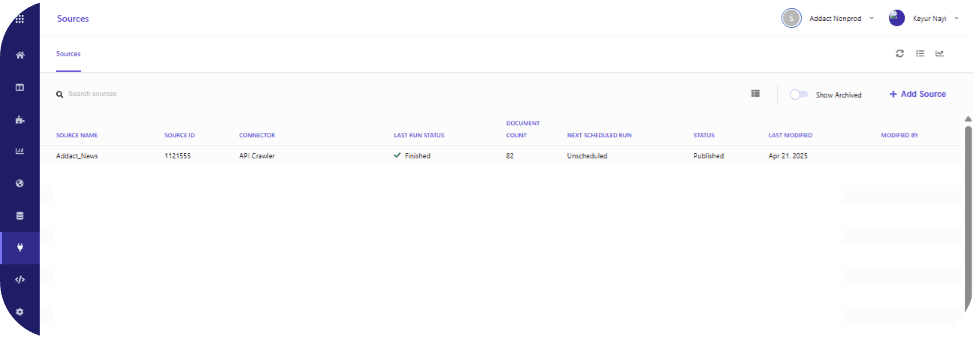
From the dashboard, navigate to the Sources section, as highlighted. Clicking on Sources will display a list of all existing sources configured within the search application, similar to the view shown below.
Next, let’s walk through the process of creating an API crawler using a “GraphQL” query and retrieving the desired response.
Click on Add Source in the top-right corner. This will open a form where you can enter the basic configuration details for the source.
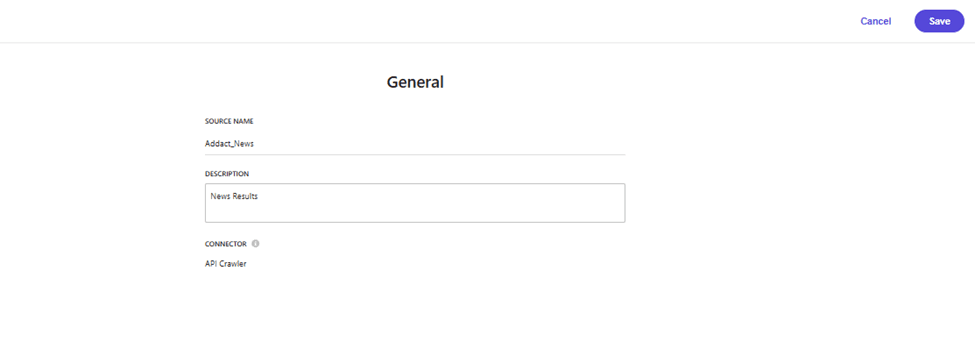
After providing all the required information, click Save. The new source will be created and assigned a unique GUID, which can later be used on the Next.js side to fetch and consume the indexed data. Once saved, the source will appear in the list as shown below.
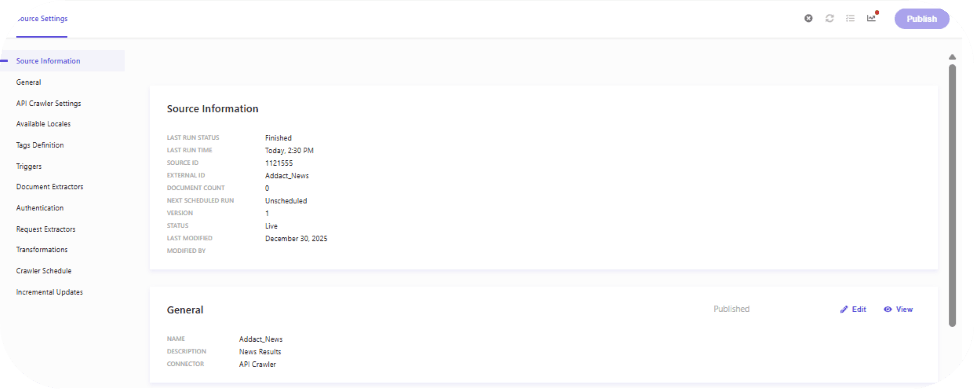
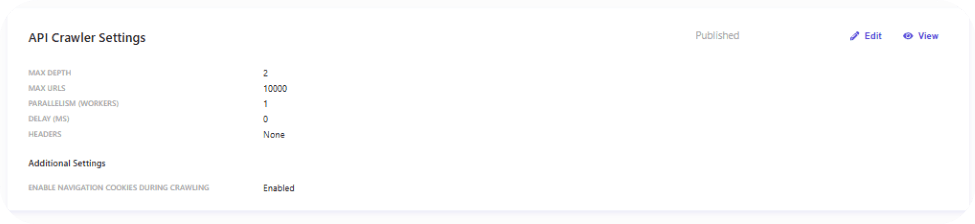
By default, the crawler is configured with standard settings, as shown below. If the response contains a larger number of URLs or requires deeper traversal, these settings can be adjusted accordingly.
Since we are using an API Crawler, the next step is to navigate to the Trigger section from the left-hand panel in the index configuration.

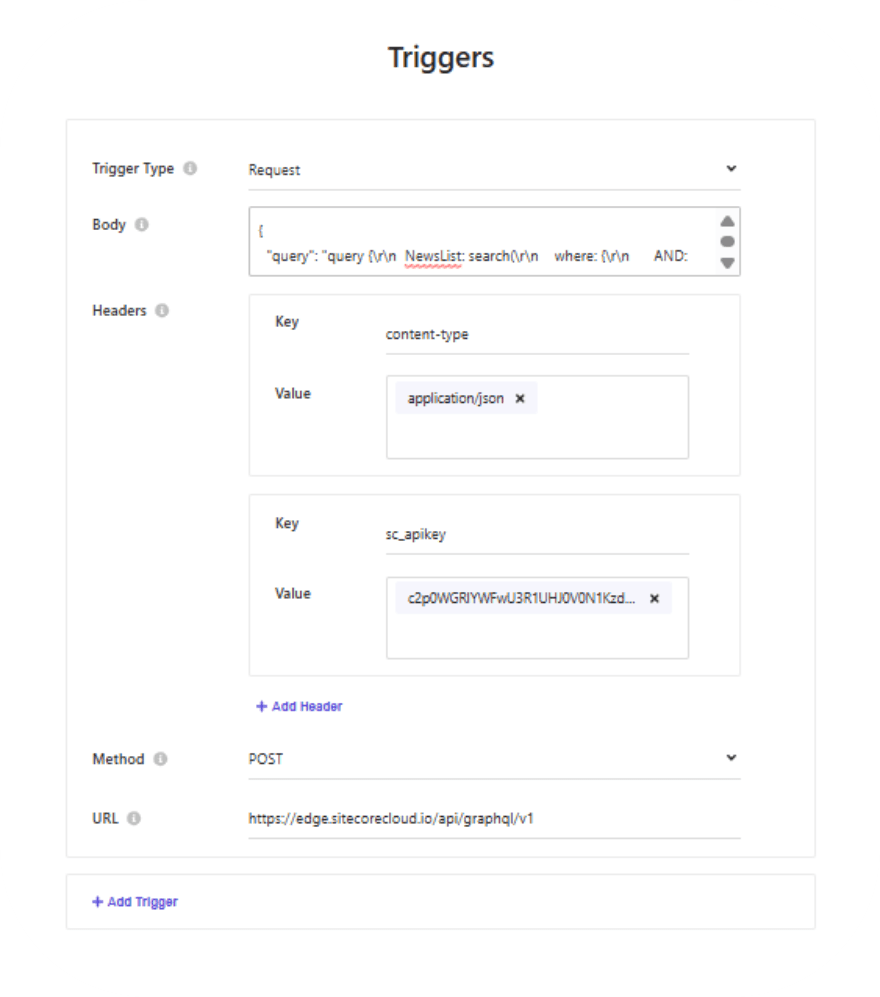
After clicking on the Trigger section, the Trigger configuration panel will be displayed. Select Request as the Trigger type, which allows us to pass a GraphQL query using a JavaScript fetch request.

Once Request is selected, additional input fields such as URL, Method, Headers, and Body become available. These fields can be populated using the values from the GraphQL Playground configuration.
{
"query": "query {\r\n NewsList: search(\r\n where: {\r\n AND: [\r\n {\r\n name: \"_path\"\r\n value: \"{GUID}\"\r\n operator: CONTAINS\r\n }\r\n { name: \"_hasLayout\", value: \"true\" }\r\n {\r\n AND: [\r\n {\r\n name: \"_templates\"\r\n value: \"{GUID}\"\r\n operator: CONTAINS\r\n }\r\n ]\r\n }\r\n { name: \"_language\", value: \"en\" }\r\n ]\r\n }\r\n first: 100\r\n ) {\r\n results {\r\n ... on NewsDetailPage {\r\n name\r\n image {\r\n jsonValue\r\n }\r\n title {\r\n value\r\n }\r\n date {\r\n jsonValue\r\n }\r\n excerpt {\r\n value\r\n }\r\n description {\r\n value\r\n }\r\n cTAButton {\r\n jsonValue\r\n }\r\n url {\r\n path\r\n }\r\n }\r\n }\r\n }\r\n}\r\n",
"variables": {}
}
Once the trigger is configured correctly, it should appear as shown below.
After verifying the configuration, save the changes and proceed to the Document Extractor settings, as illustrated in the following section.

After clicking the Edit button, the Document Extractor settings will be displayed.
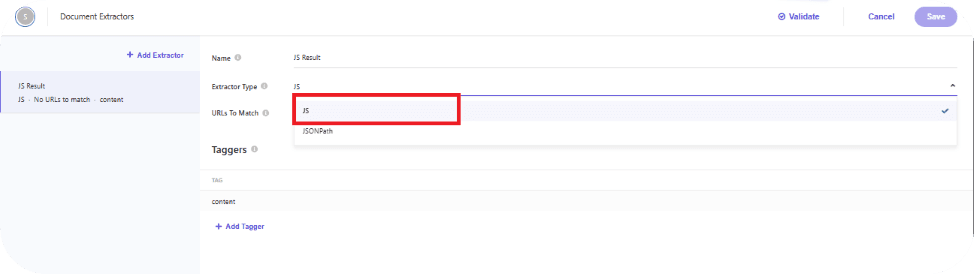
Select JS as the Extractor Type. This will enable the JavaScript Extractor configuration, where you can create a Tagger. Within the tagger, define a JavaScript extract function to transform the API response into the required JSON format for the source.
function extract(request, response) {
let requests = [];
if (
response.body?.data?.NewsList?.results
) {
requests = response.body?.data?.NewsList?.results?.map((e, i) => {
let id= i;
return {
"id": id,
"name": e?.title?.value,
};
});
}
else {
return {
"id": "News ID",
"name": "News name"
};
}
return requests;
}
Once the configuration is complete, you can run the Indexer. This will execute the job, trigger the configured request, and extract the results into the required JSON format.
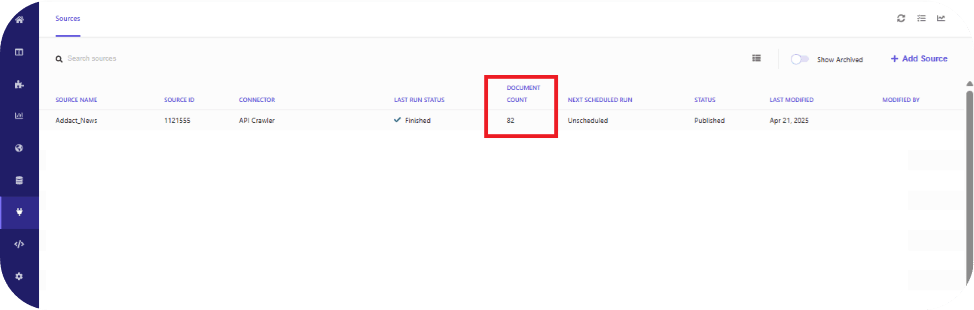
After the indexing job finishes successfully, the Document Count will reflect the total number of records retrieved and indexed, as shown below.
Conclusion:
By configuring an API crawler in Sitecore Search with a GraphQL-based request trigger and a JavaScript document extractor, we can precisely control how content is fetched, transformed, and indexed. This approach enables flexible data sourcing beyond traditional URL crawling, allowing us to consume structured API responses and map them into search-ready documents. Using JS extractors ensures the response is normalized into the required JSON format, while trigger settings help manage depth, limits, and execution. Overall, this setup provides a scalable, customizable, and efficient way to index dynamic content.

Keyur Nayi- Technical lead - ADDACT
Technical lead - ADDACT
Technical Lead at Addact with 8+ years of experience in software engineering and enterprise CMS solutions.He is Sitecore XM Cloud, OrderCloud, and Sitecore 10 .NET certified, specializing in scalable, cloud-ready implementations.
His technical stack includes ASP.NET/Core, C#, MVC, jQuery, and Azure/AWS, enabling high-performance, cross-platform web solutions.