
How to Configure Sitecore Search Web Crawler: A Step-by-Step Guide

Sitecore Search is a key tool in Sitecore CMS that helps you organize and search through your web content. Configuring Sitecore Search for web crawling ensures that your content is properly indexed and searchable.
To set up Sitecore Search on XM Cloud, you need to create a Web Crawler or Advanced Web Crawler source. This process involves defining what content should be crawled, setting up triggers for when crawling happens, and deciding how the content is extracted.
Prerequisites
Before you begin, make sure:
- You have access to the Sitecore Cloud Portal
- Sitecore Search is enabled for your XM Cloud environment
- You have appropriate permissions to configure sources.
Here we follow step by step guide.
Step 1: Log in to the Sitecore Cloud Portal and, from the Sitecore menu, open Search (Addact-Nonprod).
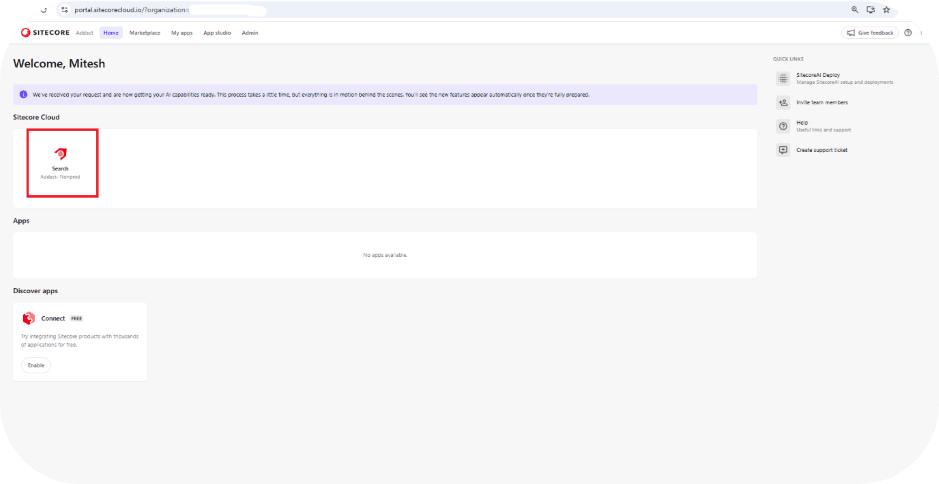
Step 2: In the Search interface, click Open App on the right-hand side to launch the Search application.

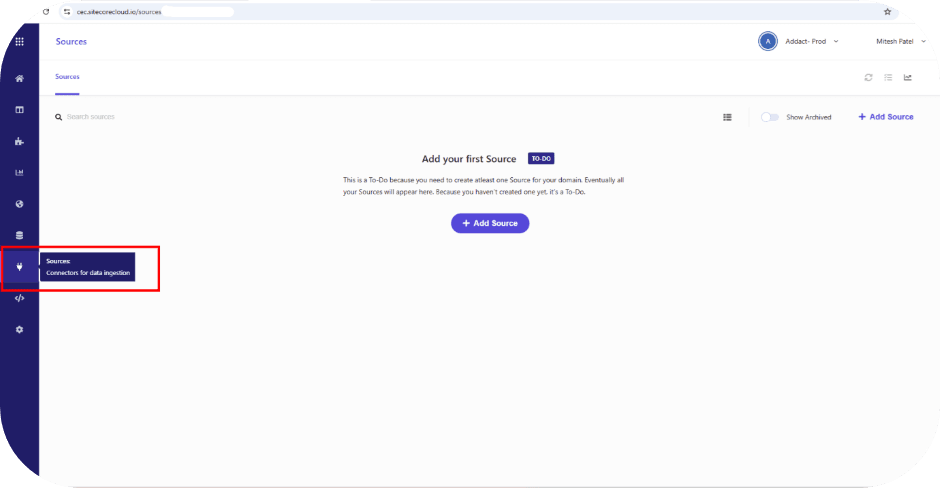
Step 3: Navigate to Sources by clicking Sources in the left-hand sidebar.
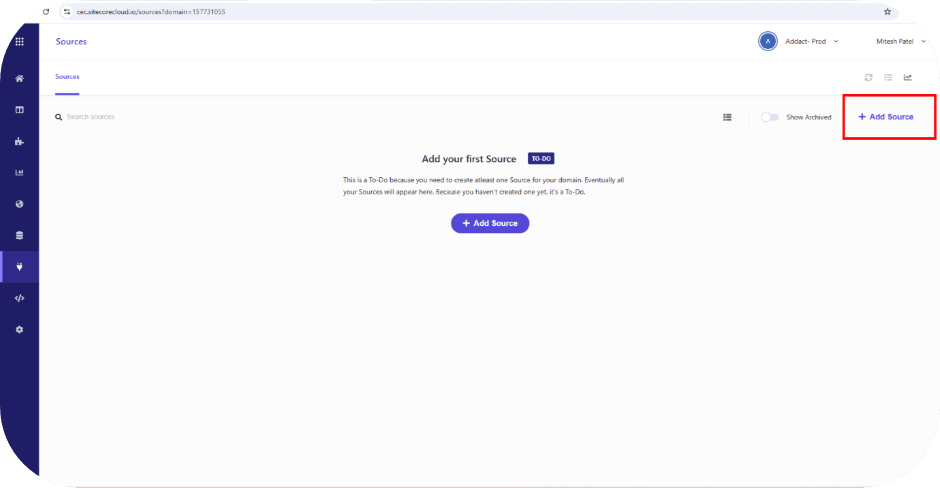
Step 4: Add a New Source
Click Add Source to create a new source configuration.
Fill in the following details:
- Source Name: Provide a meaningful name for the source.
- Description: Add a brief description for reference.
- Connector: Select the appropriate connector based on your use case.

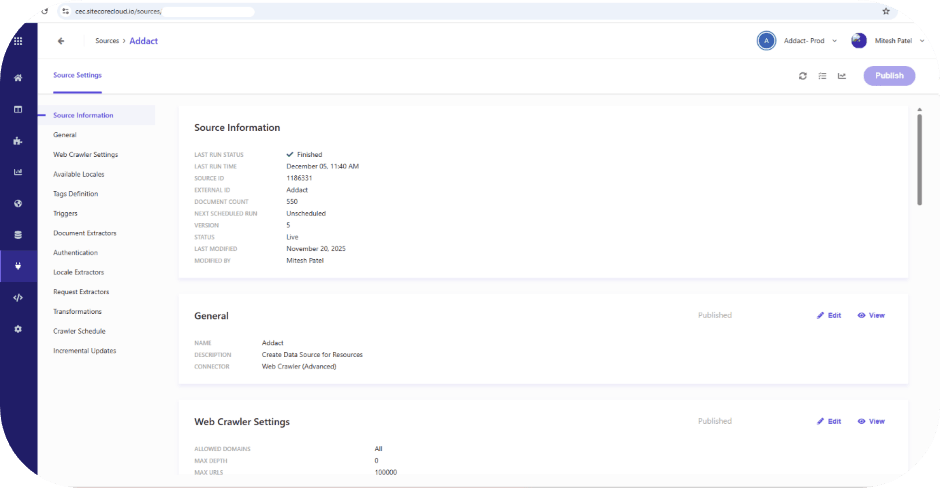
Step 5: Review the Source Information to ensure all details are configured correctly before proceeding.

After adding the source, review the configuration to ensure all details are correct.
Step 6: Edit Locales to configure the required language and regional settings for the source.
Scroll to the Locales section and click Edit.
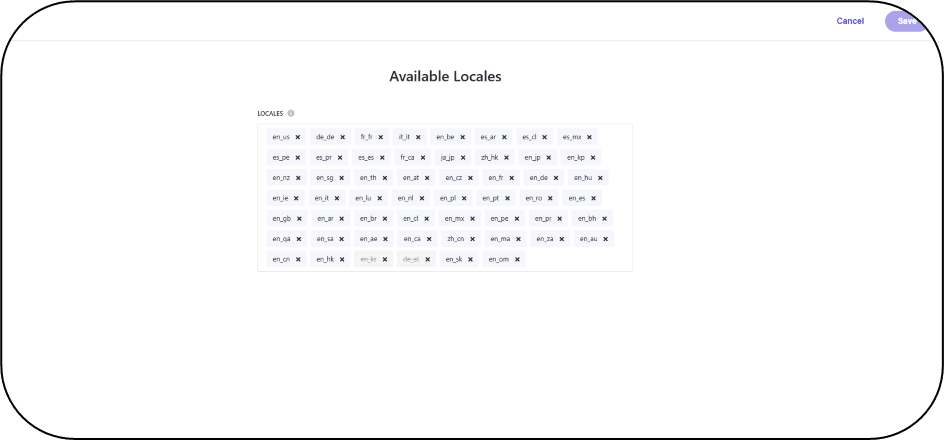
- To add additional locales, follow the steps below:
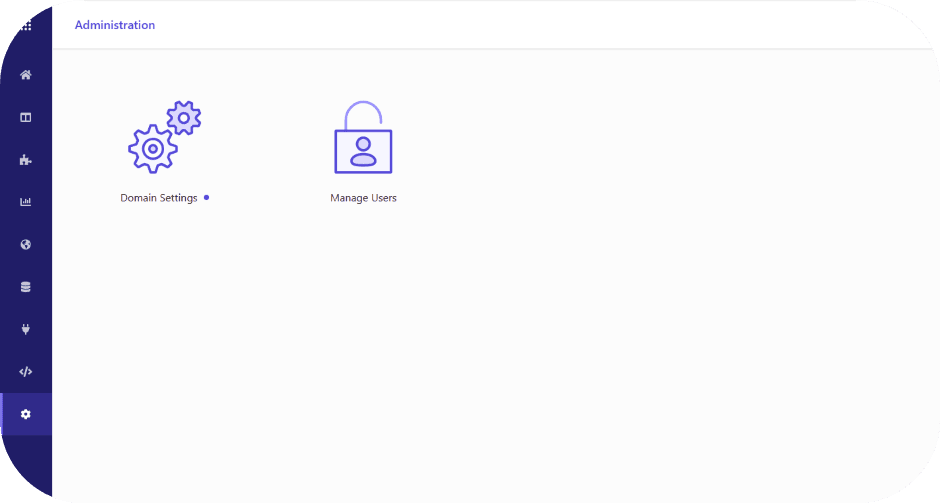
- Navigate to Settings and click Domain Settings.
From the menu, locate the Locales section, click Edit, and add the required locale.
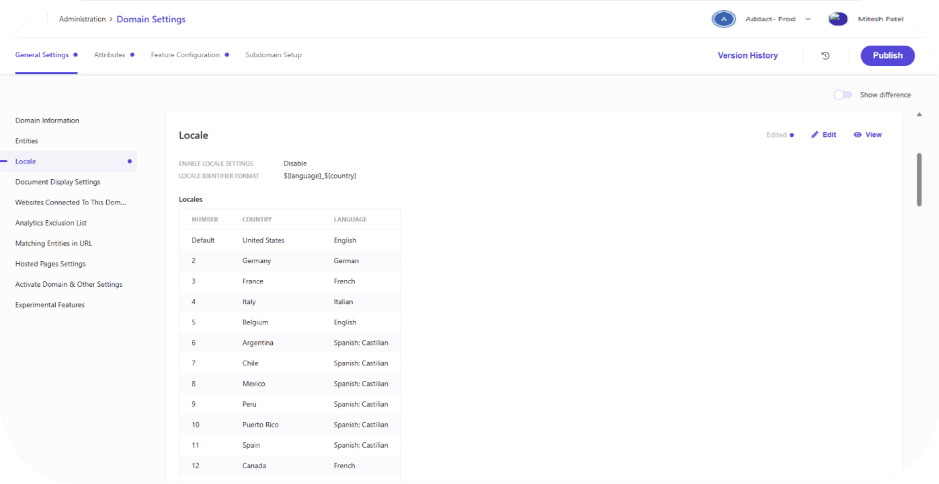
Click Locale, then select Edit to add additional locales as needed.

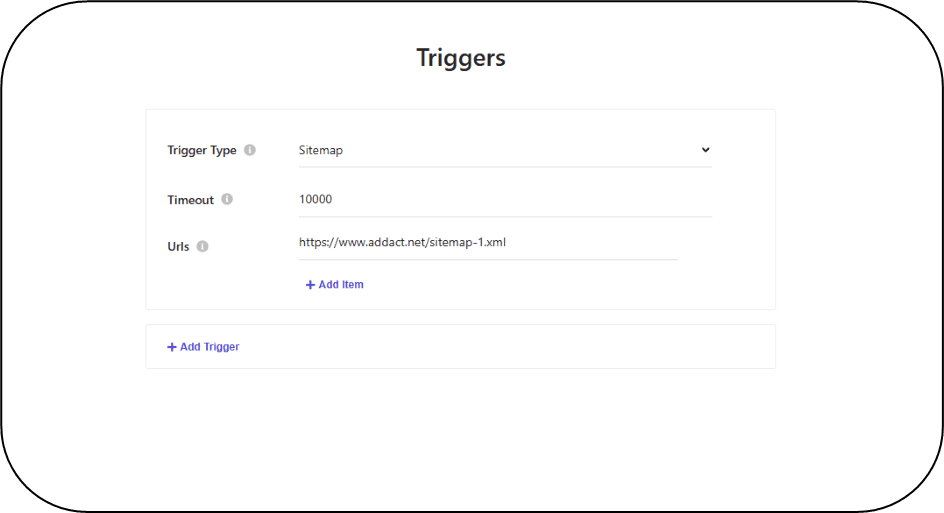
Step 7: Configure Triggers for the source.
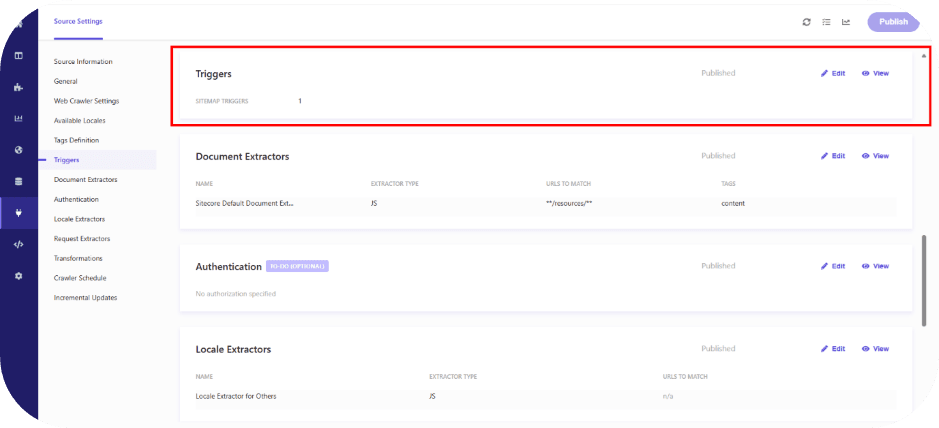
Navigate to the Triggers section and configure the trigger settings as required.
Step 8: Configure the Document Extractors for the source.

Click "Edit" under Document Extractors to adjust how content is extracted.
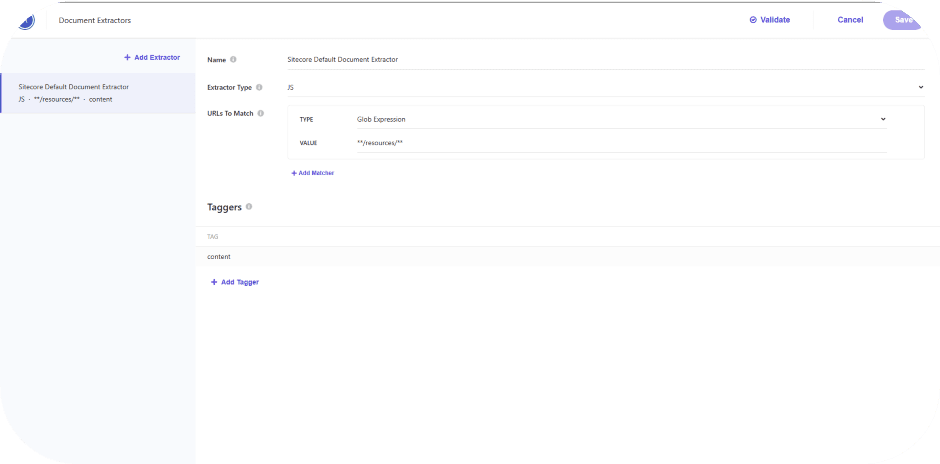
Edit “content”:
function extract(request, response) {
const $ = response.body;
return [{
'resources_title':$('meta[name="resources_title"]').attr('content'),
}];
}
Step 9: Set Locale Extractors
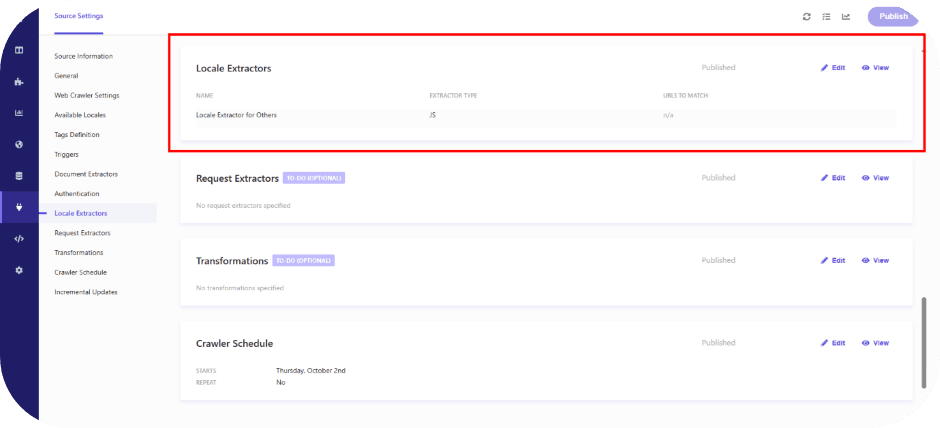
Finally, click Edit under Locale Extractors to verify that all required locales are configured correctly.
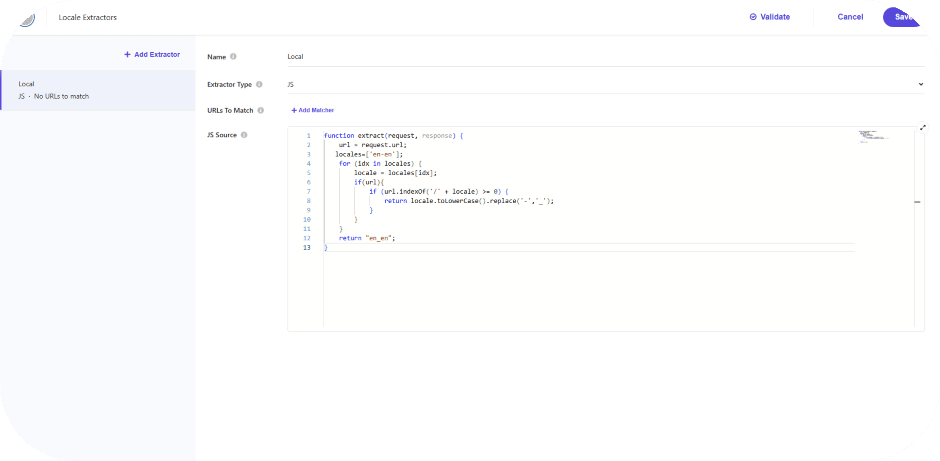
function extract(request, response) {
url = request.url;
locales=['de-de’, ‘it-it’];
for (idx in locales) {
locale = locales[idx];
if(url){
if (url.indexOf('/' + locale) >= 0) {
return locale.toLowerCase().replace('-','_');
}
}
}
return "de_de";
}
Conclusion
Setting up Sitecore Search web crawling in XM Cloud helps make your website content easier to find and use. By creating sources, adding locales, and configuring triggers and extractors, you control what content is indexed and how it appears in search. Following these steps ensures your content is organized, searchable, and available in the right languages, improving the overall search experience for your users.

Mitesh Patel - Technical Head - ADDACT
Sitecore || XMCloud || OrderCloud Certified
Mitesh, a distinguished Technical Head at Addact/Addxp, is a prominent figure in Sitecore/XMCloud/OrderCloud certified writing. From Sitecore XM Cloud Developer Certification to Sitecore 10 .NET Developer Certification and Sitecore OrderCloud Certification, Mitesh's expertise is unparalleled. Mitesh is not only a skilled Sitecore CMS developer but also a 12+ years experienced software engineer proficient in various technologies such as MVC, ASP.Net, C#, jQuery, and Azure cloud/AWS.