How to create email contacts and send them using Sitecore Send?
Published: 21 August 2023
Follow this blog, to learn how to create and send Email Campaigns and Email Lists.
Step-1: Login in with your credentials in Sitecore send.
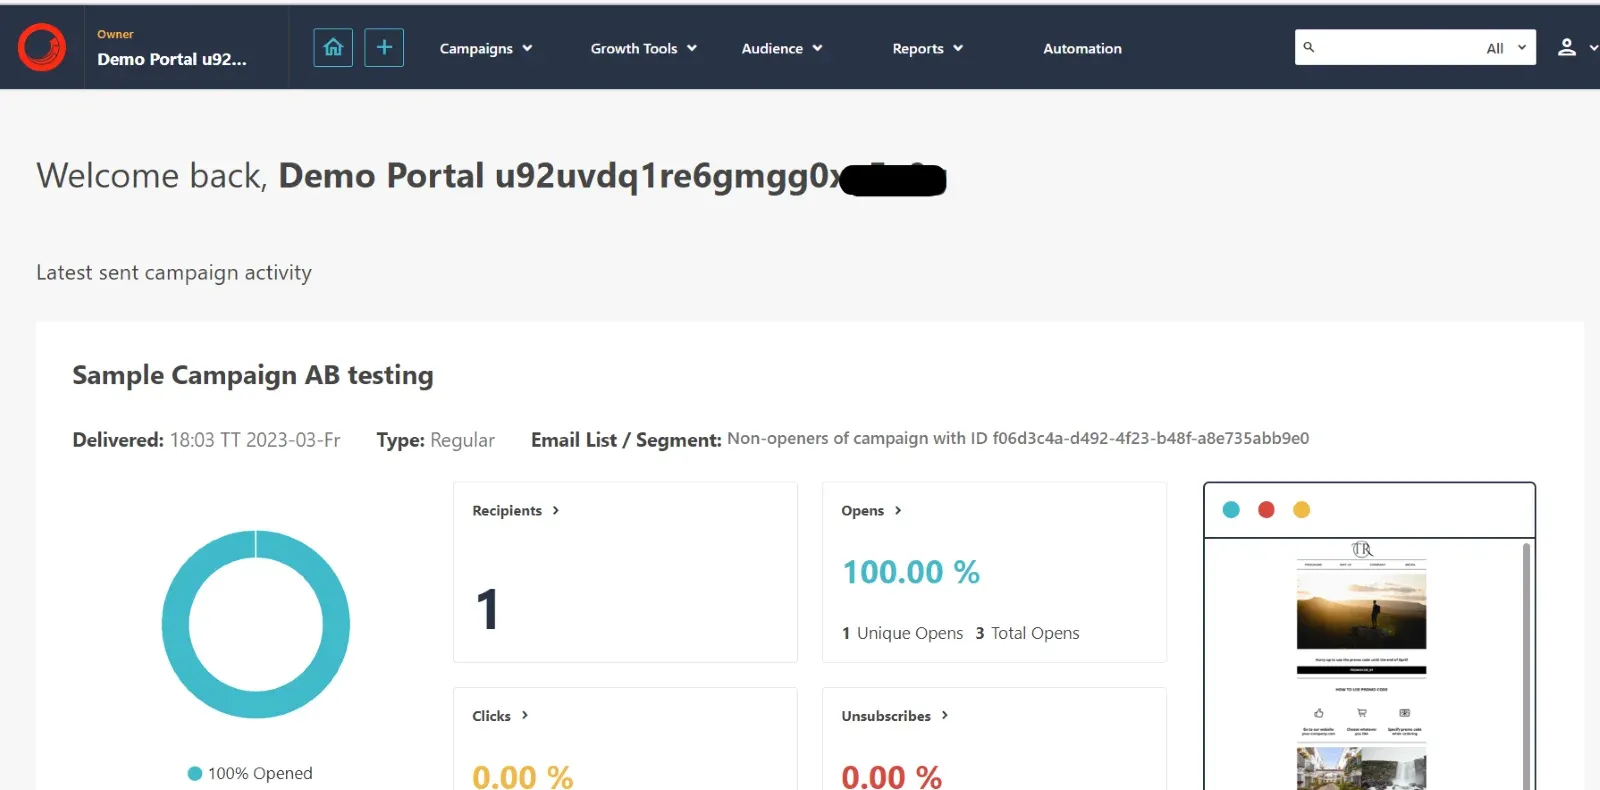
Step-2: On successful login, a Dashboard will open.
Steps to Create Email Lists:
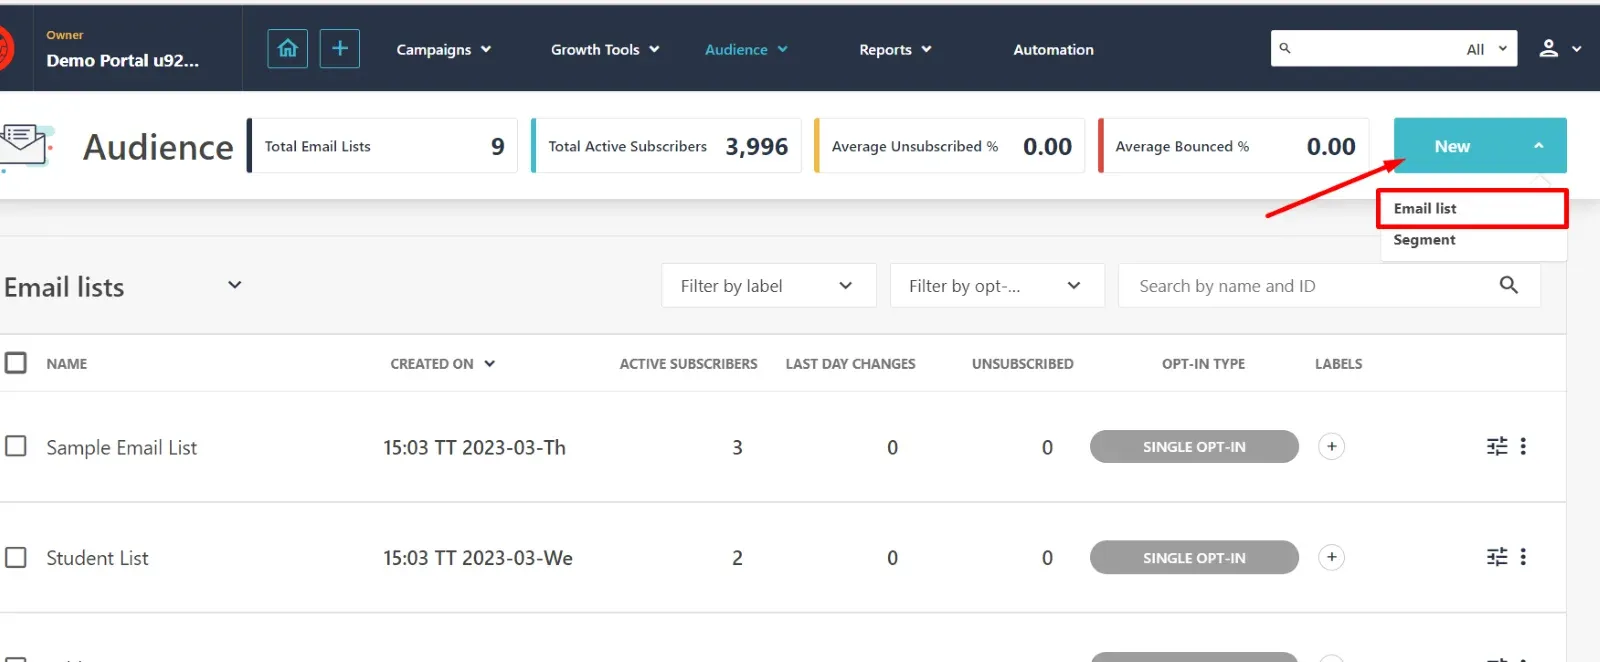
Step-1: Go to Audience => Email lists.

Step-2: Go to New => Email Lists.
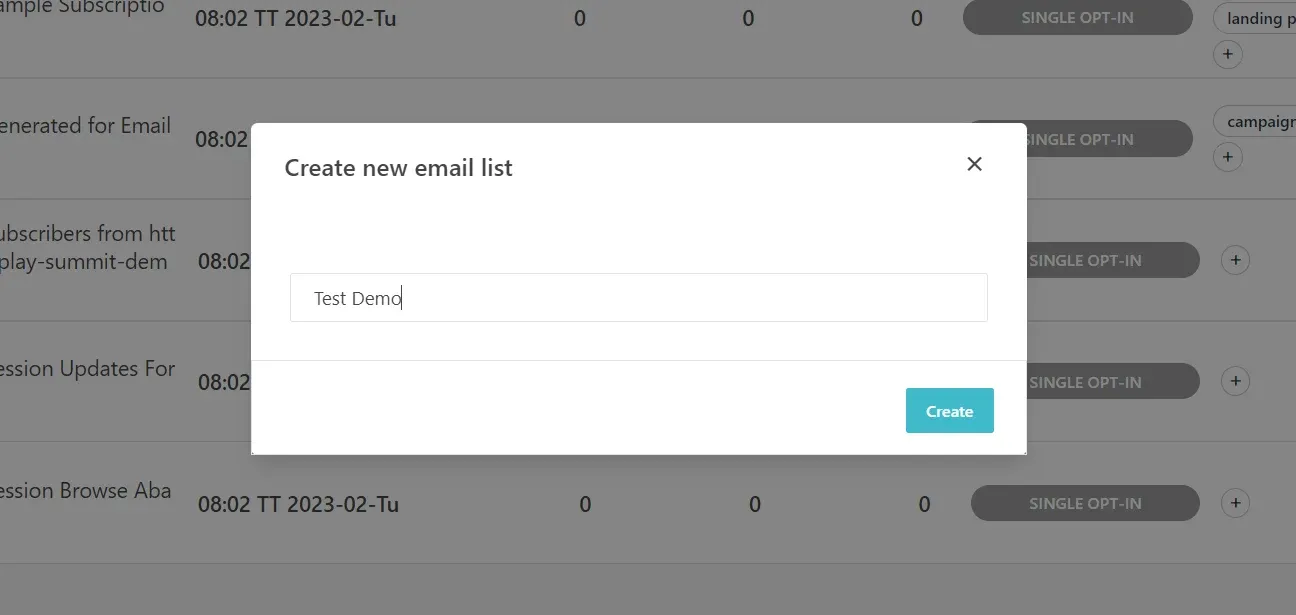
Step-3: Give it a name and then click on Create to create a new list.
Step-4: Click on Add-Member.
Step-5: Fill in the necessary details and check the Consent confirmation checkbox.
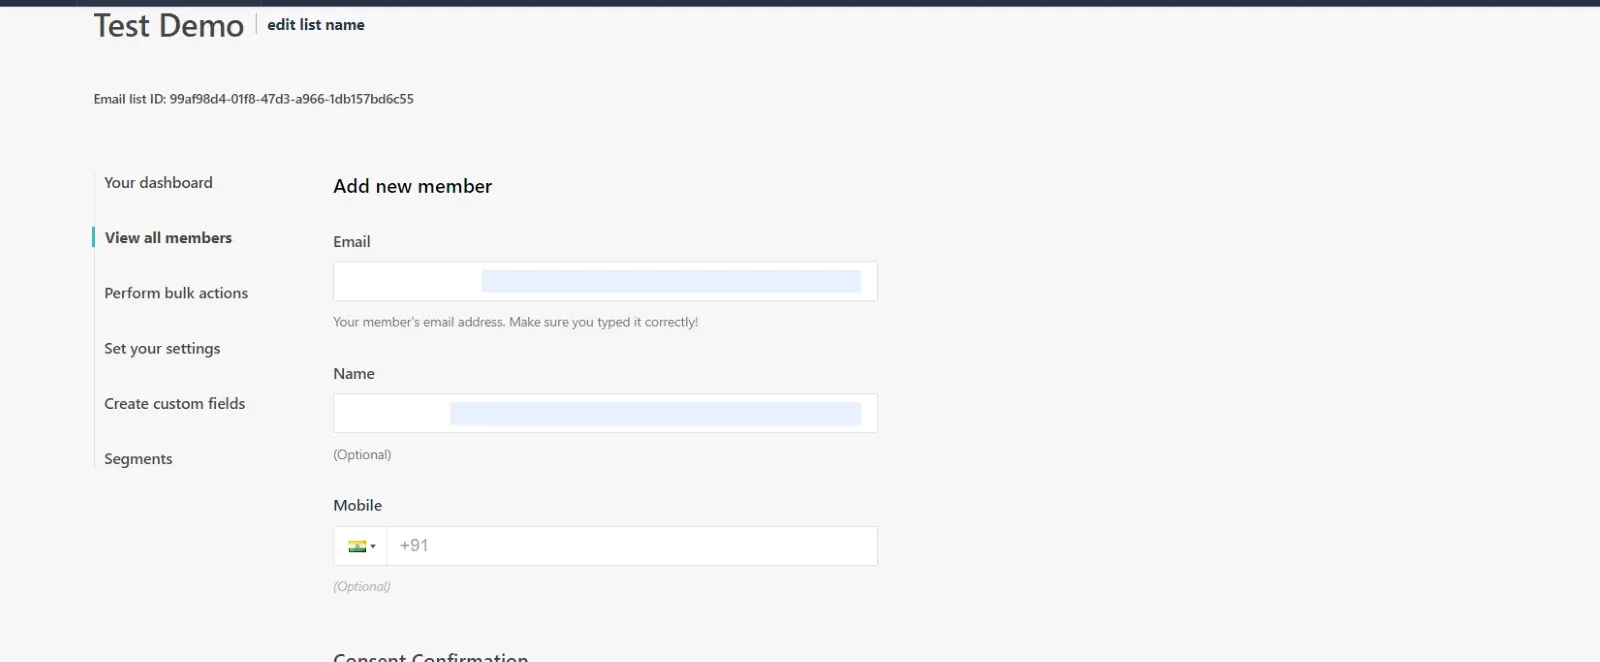
Step-6: Then click on “Save Member”.
Steps add multiple members at once:
Step-1: Go to Perform bulk actions -> Import members into List.
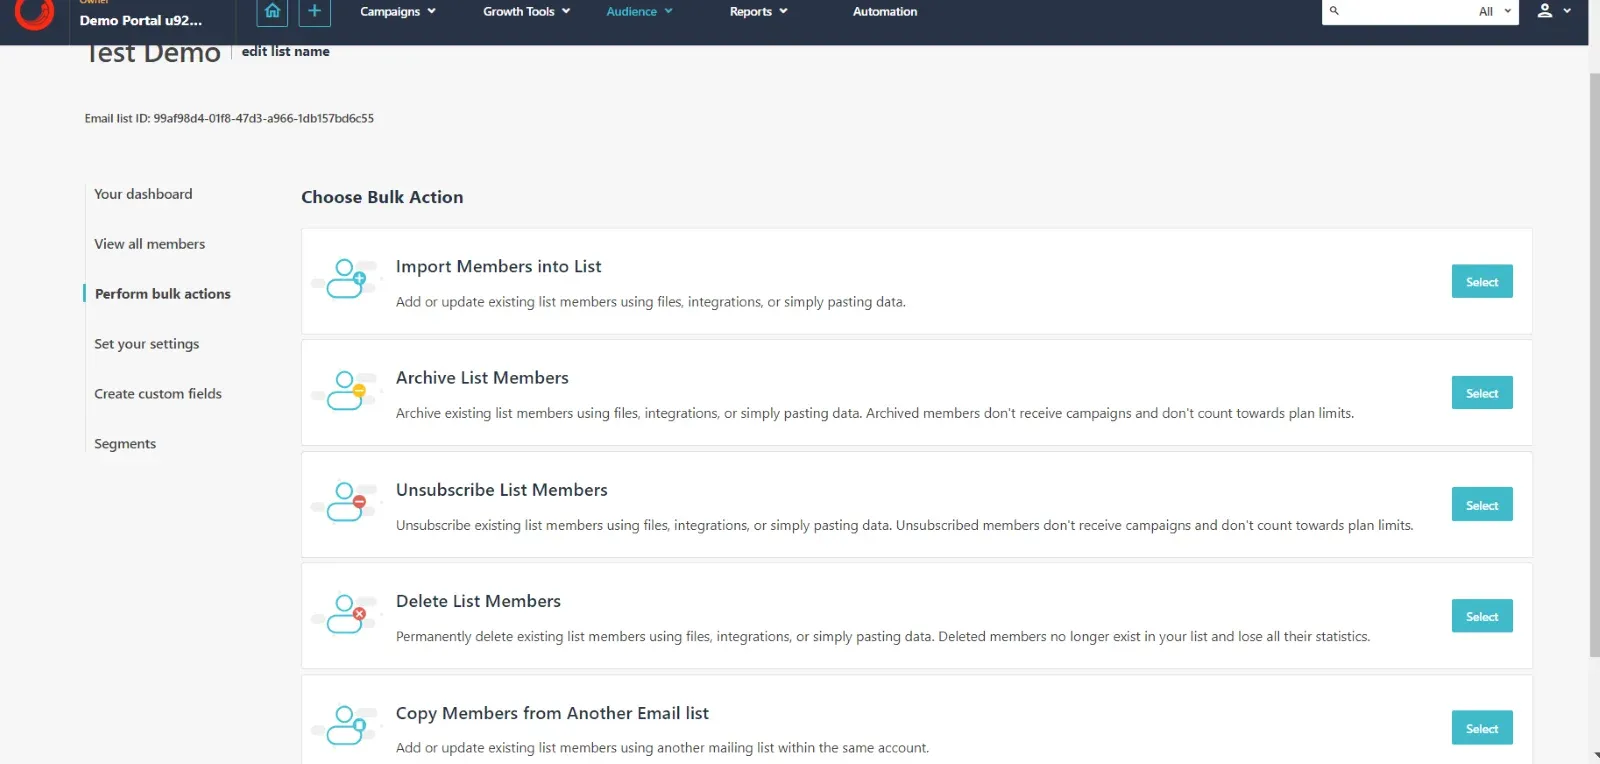
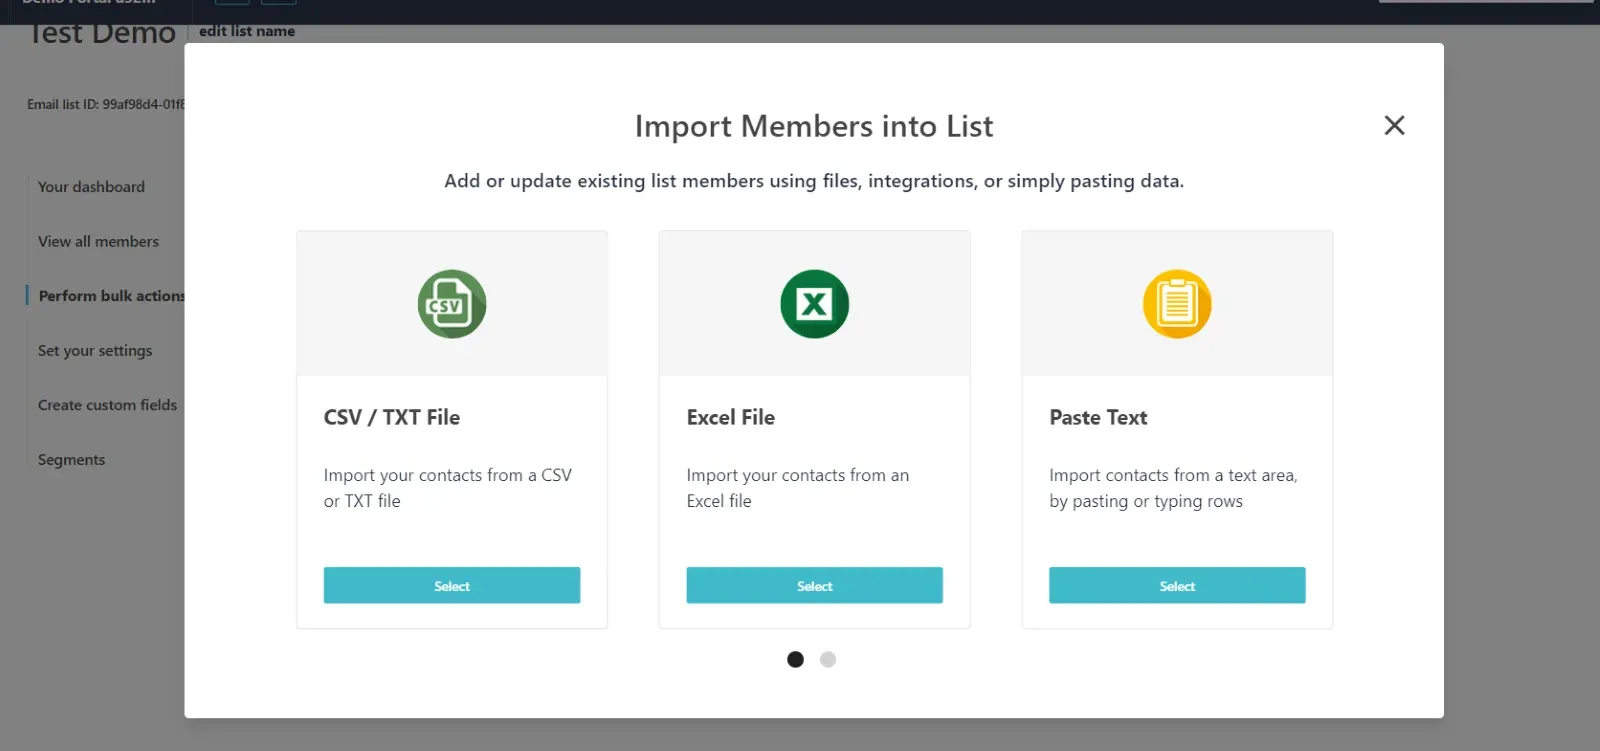
Step-2: There are several ways to import members, you can Paste text, or import an Excel file, etc.
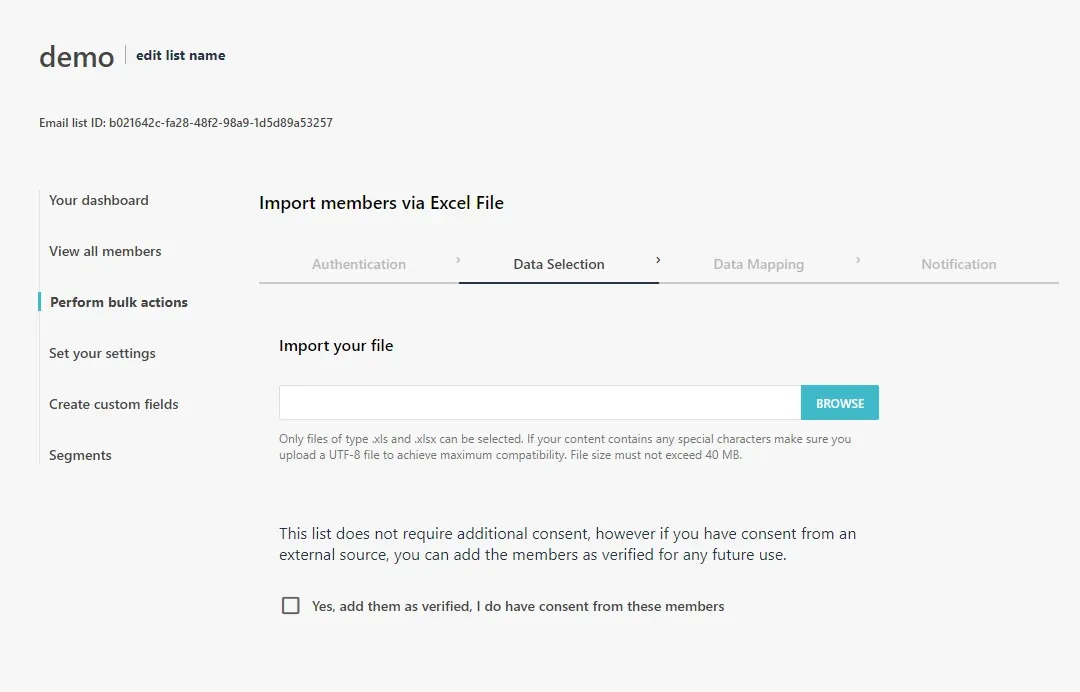
Step-3: Import your file and press Next.
Step-4: Contacts from the file will be displayed, then press Next.
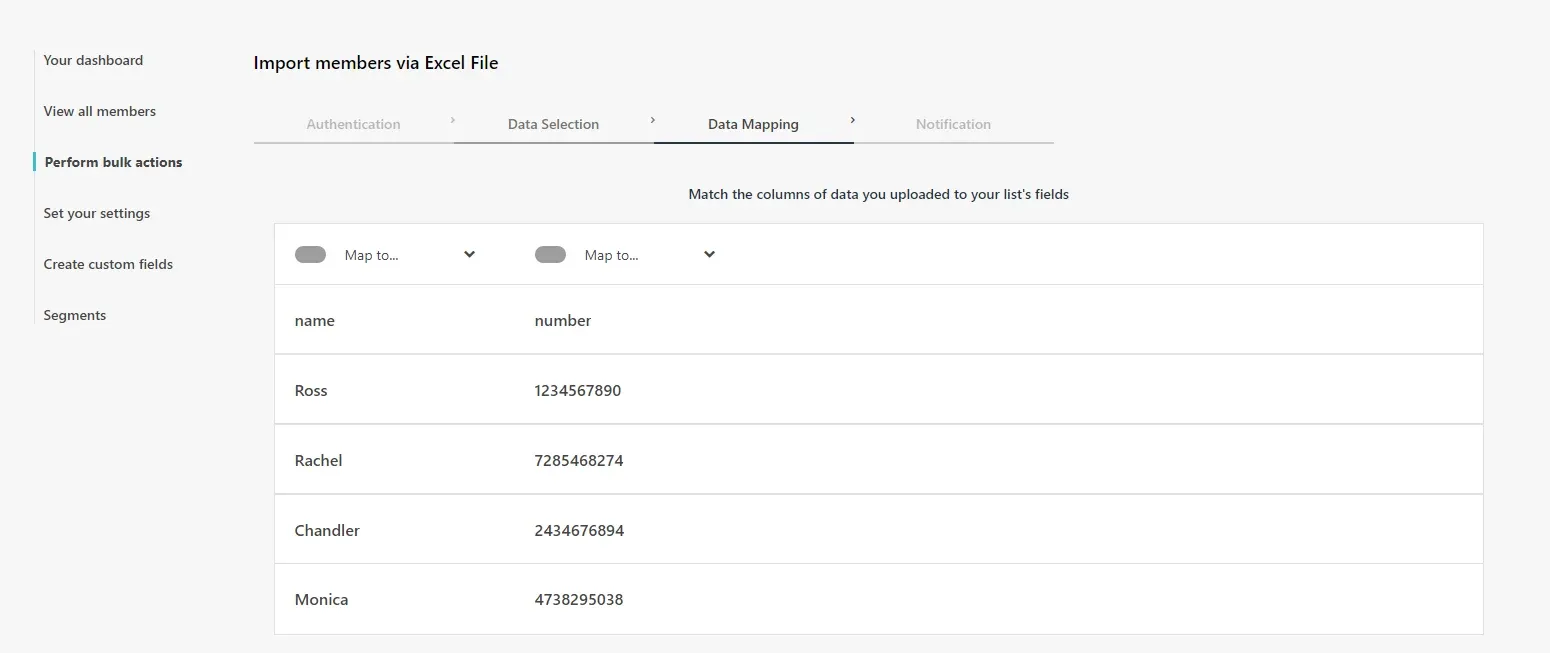
Step-5: Select the option as desired, then press Import.
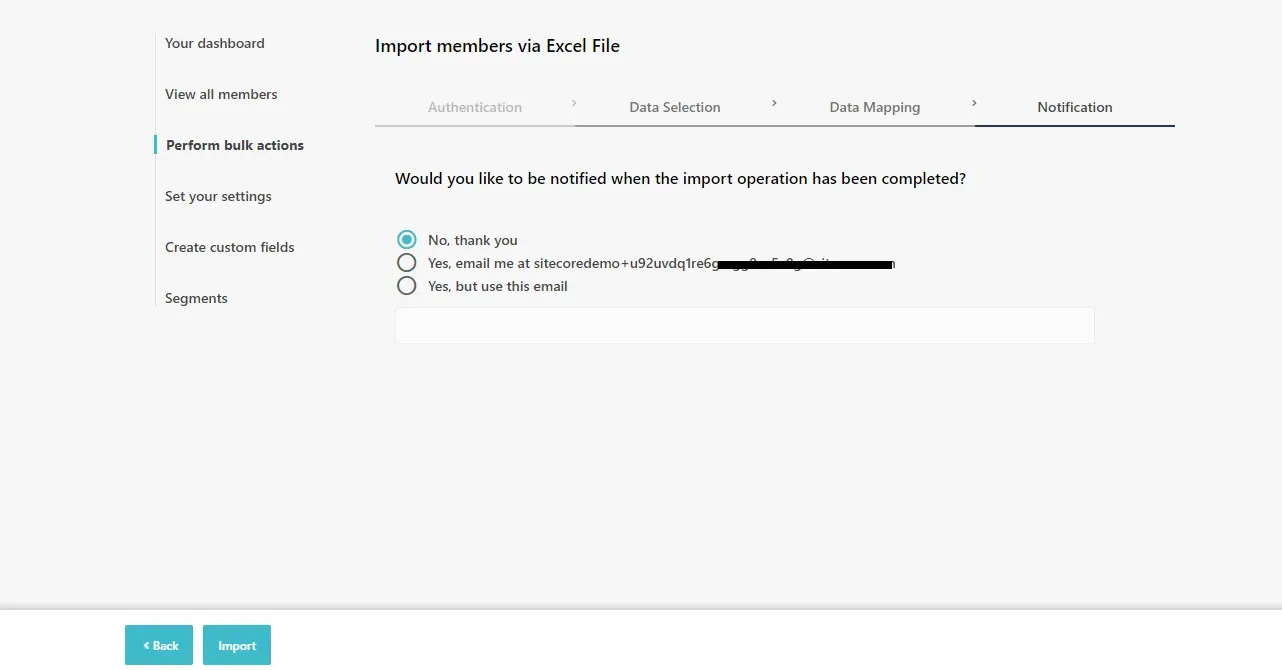
Step-6: This step is optional, but you can configure the segment templates from this step. (Steps no. 6 and 7 are optional and as per need of Business)
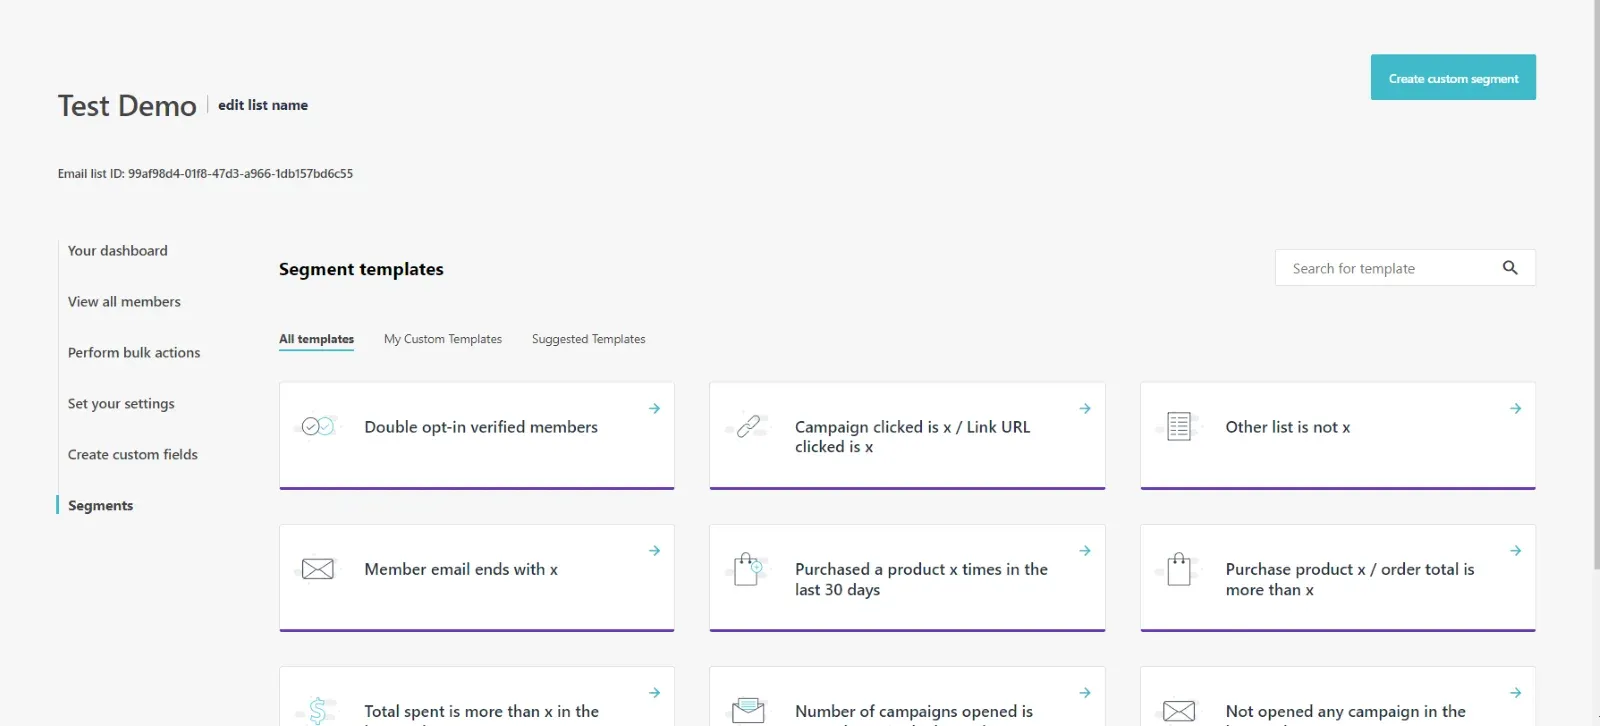
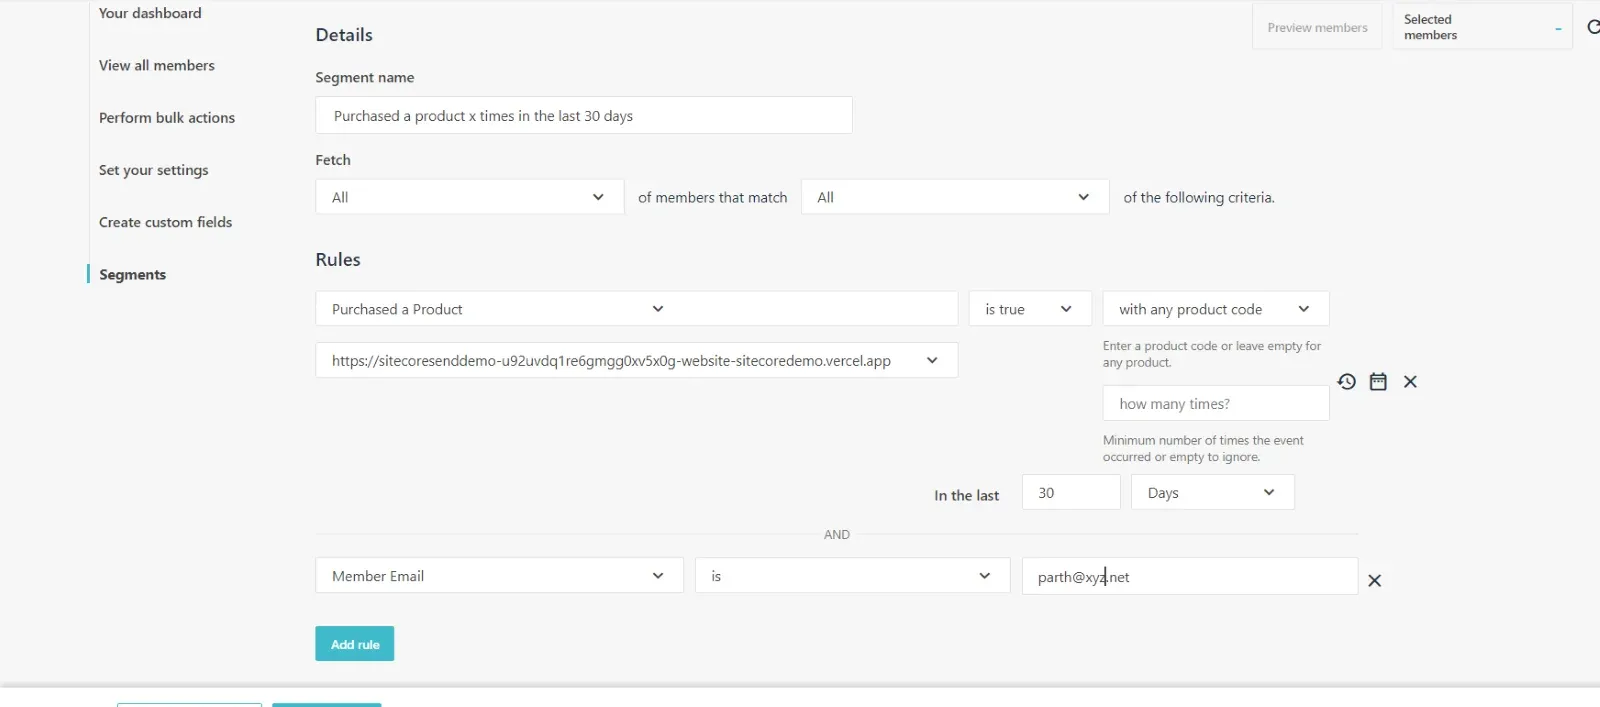
Step-7: Here I filled in the details to segment and added the rules according to our business needs.
Steps to Create Email Campaign
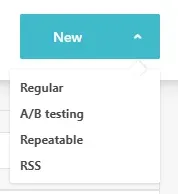
Step-1: Go to Campaign -> Regular.
Step-2: In the result window, select the type of Campaign. For now, I am selecting a Regular Campaign.
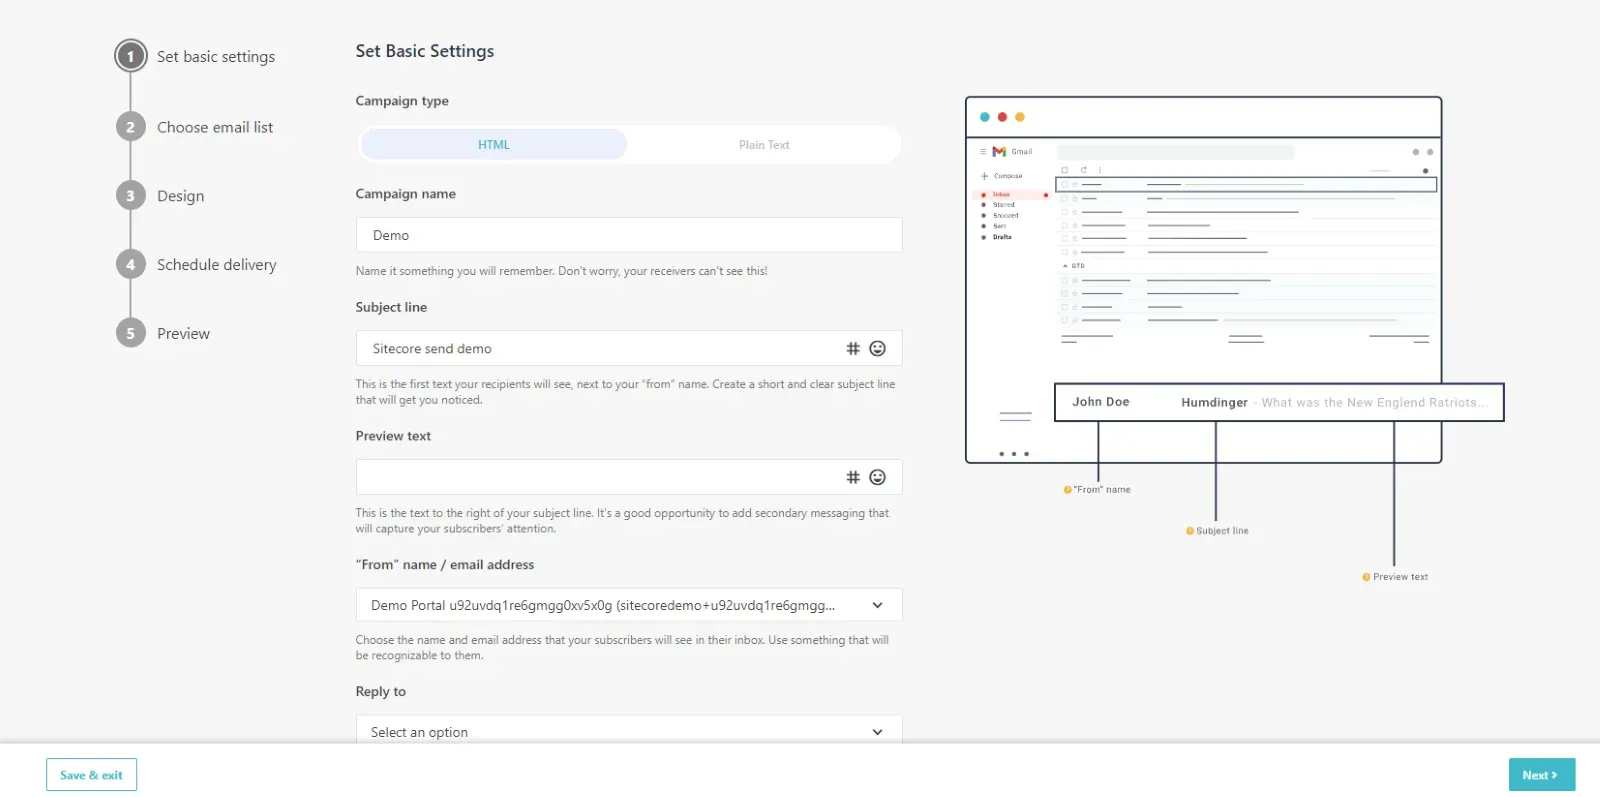
Step-3: Fill in the following fields, Name, Subject line, and Email
Step-4: Select the email list which you created for the target audience.

Step-5: Choose the design for the email. Sitecore send provide us with some of the free templates so we can choose that and edit the content from that template by an editor.
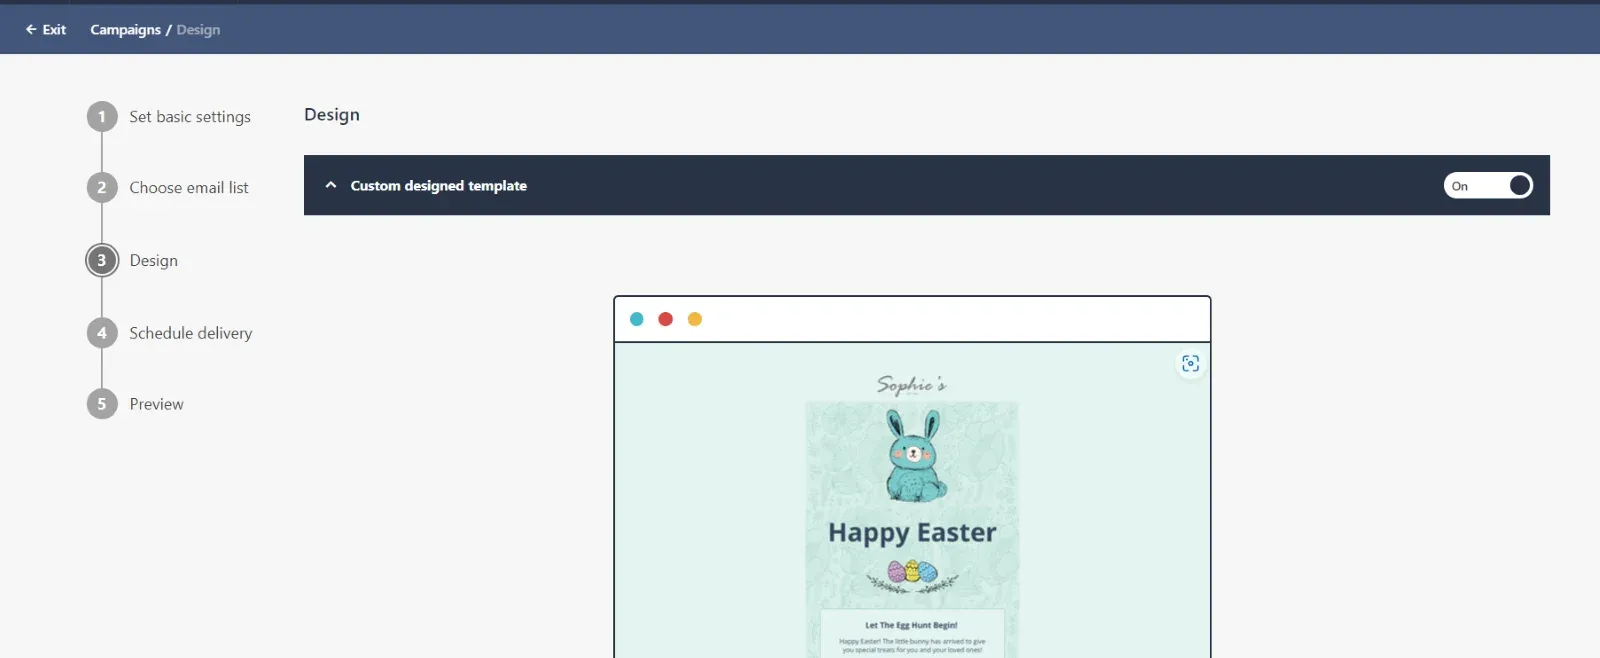
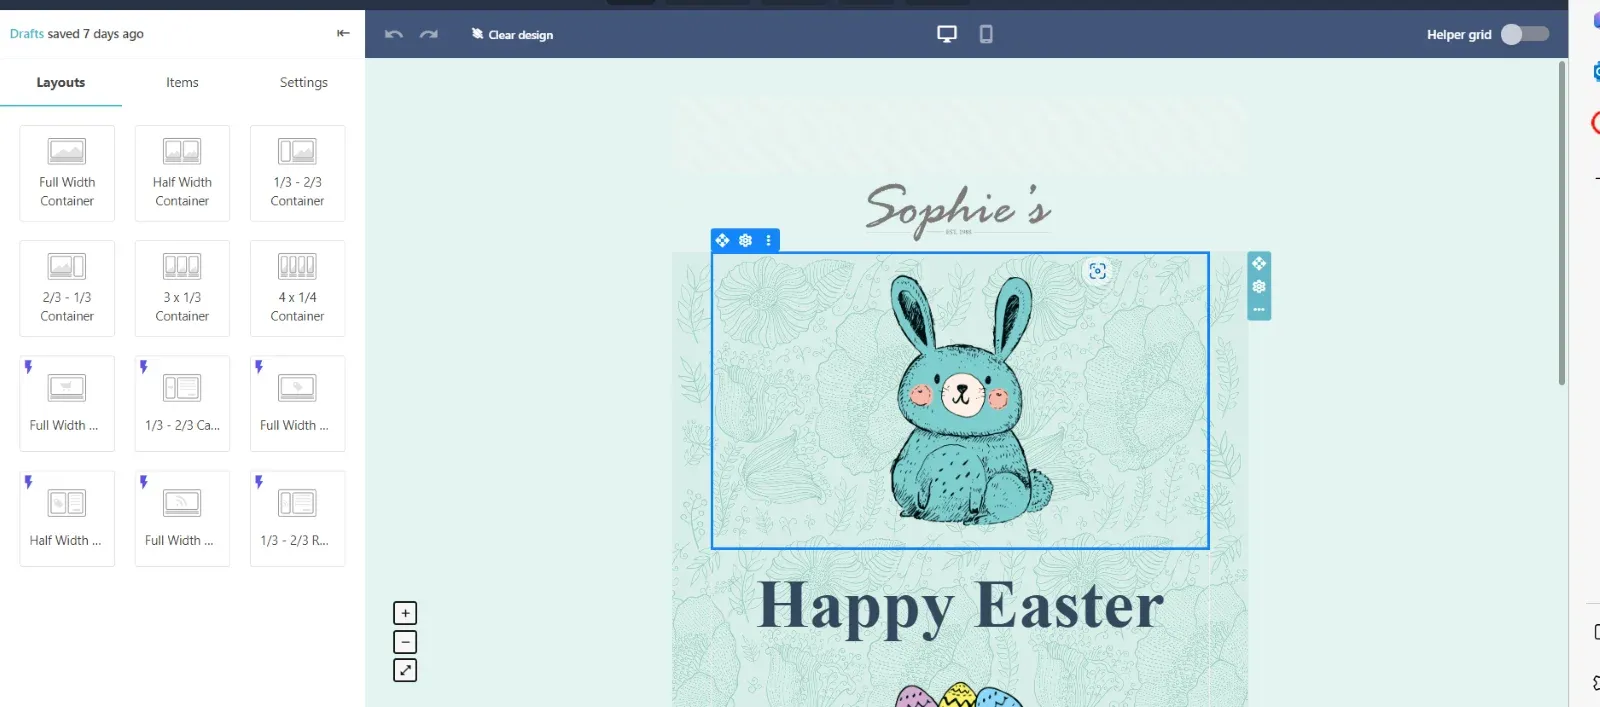
We can upload your custom templates or HTML code to this design for the campaign.
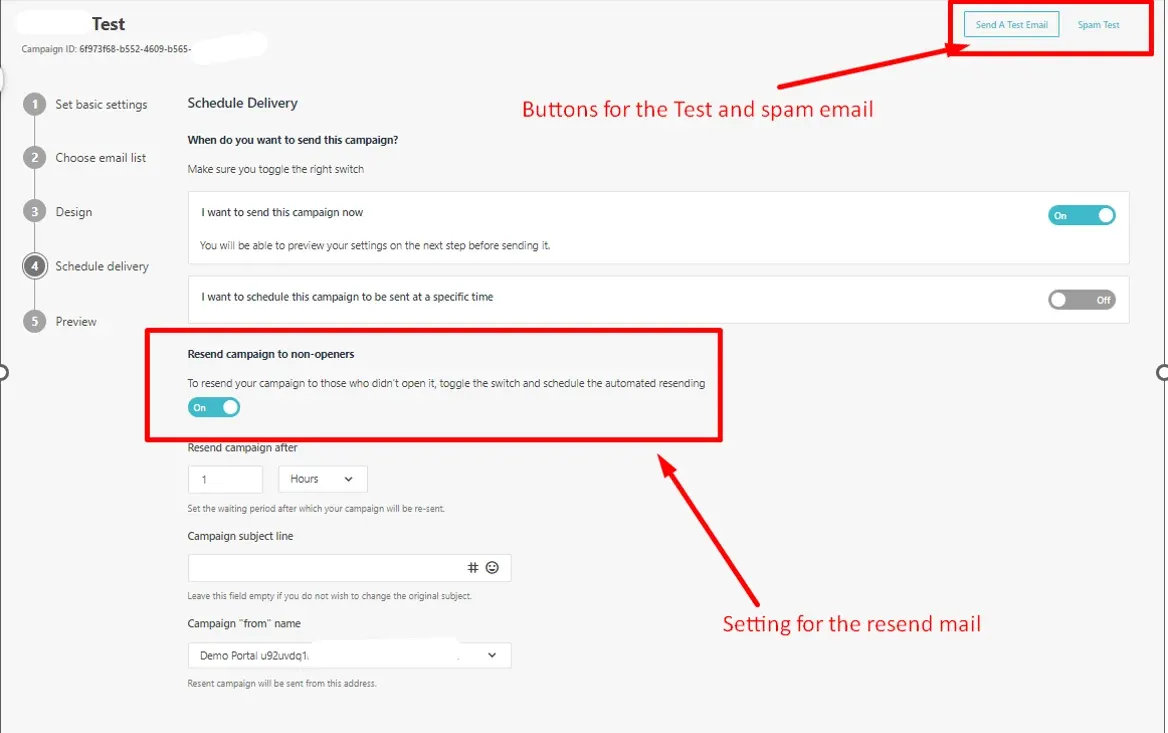
Step-6: We can Schedule delivery for the email. There are other features please check below.
- We can Schedule a time and date for the email to the target audience.
- If you want to send (campaign) right now, then you need to on the button “I want to send this campaign now”
- We can also send test emails and spam for the testing from top right buttons.
- If someone is not opened your email for a specific amount of day/time, your Sitecore send will send an automatic email for the reminder mail but for this, you need to
- add one setting and add details on it as in the below screenshot.
In the last step, kindly review your all details and templates for the campaign.

Mitesh Patel - Technical Head - ADDACT
Sitecore || XMCloud || OrderCloud Certified
Mitesh, a distinguished Technical Head at Addact/Addxp, is a prominent figure in Sitecore/XMCloud/OrderCloud certified writing. From Sitecore XM Cloud Developer Certification to Sitecore 10 .NET Developer Certification and Sitecore OrderCloud Certification, Mitesh's expertise is unparalleled. Mitesh is not only a skilled Sitecore CMS developer but also a 12+ years experienced software engineer proficient in various technologies such as MVC, ASP.Net, C#, jQuery, and Azure cloud/AWS.
