Netlify and Vercel are two prominent competitors in the JamStack industry. These cloud-based
platforms provide hosting for Server Side Rendering (SSR) and Static Site Generation (SSG),
which have recently gained popularity. When deciding between the two platforms, it becomes
challenging as they offer similar features and functionalities.
To begin, ensure that you have the following:
-
Access to an instance of Sitecore XM Cloud (refer to XM Cloud for details).
-
A repository of GitHub for XM Cloud instance.
-
A free account on the Netlify UI platform: Netlify UI.
By utilizing these platforms, you can explore and compare the offerings of Netlify and Vercel for
your JamStack needs.
Netlify deployment
To connect to the XM Cloud environment, follow these steps:
Take note of the environment ID that contains the site you intend to deploy.
Next, we need to identify the environment variables required for deploying our site on Netlify.
These variables include:
-
GRAPH_QL_ENDPOINT: Set this to the XM Cloud edge URL, which can be something like
"https://edge.sitecorecloud.io/api/graph/v1".
-
JSS_APP_NAME: Specify the Site name in Sitecore.
-
PUBLIC_URL: The value for this variable will be generated when you set up your site in
Netlify. It represents the URL where your site will be accessible.
-
SITECORE_API_KEY: To generate the access token, you can use the "New-EdgeToken.ps1"
script found in the repository mentioned above.
By configuring these environment variables in Netlify, you'll be able to deploy your XM Cloud
site successfully.
To create a Netlify account, follow these steps:
-
Visit the Netlify website and sign up for a free account.
-
Once your account is created, log in to Netlify.
-
To create a new site, click on the "New site from Git" button or a similar option.
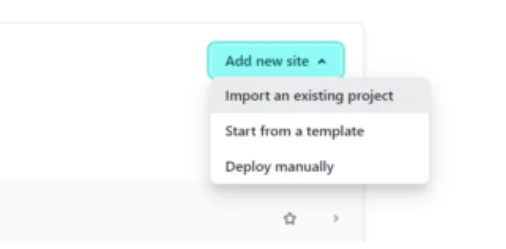
-
Select the option "Import an existing project" when prompted.
-
Choose the GitHub repository that contains your XM Cloud instance code. This establishes
a CI/CD relationship between Netlify and GitHub.
-
Netlify will automatically pull the latest code from the selected branch whenever you
trigger a deployment in Netlify or via the command-line interface (CLI).
-
Any changes made to the selected branch in GitHub will automatically trigger deploys in
Netlify.
By following these steps, you can connect your XM Cloud instance to your existing Netlify account
and leverage the CI/CD capabilities offered by Netlify.
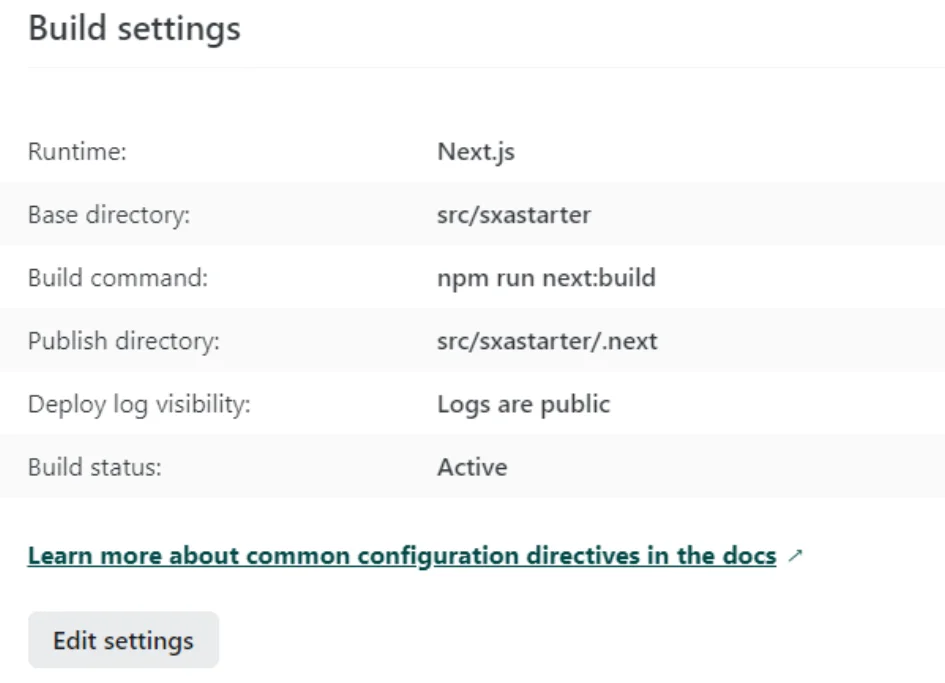
Build Settings
The build settings in Netlify allow you to specify the commands that should be executed during
the build process.
By configuring the build settings, you can provide instructions to Netlify on how to build your
project. These instructions typically include commands that need to be executed, such as
installing dependencies, compiling code, and generating the final build artifacts.
You can define the build commands in the Netlify UI or by configuring a build script in your
project's repository. Netlify will execute these commands during the build process to prepare
your site for deployment.
Customizing the build settings enables you to tailor the build process according to your
project's requirements, ensuring that all necessary steps are performed correctly before
deploying your site.
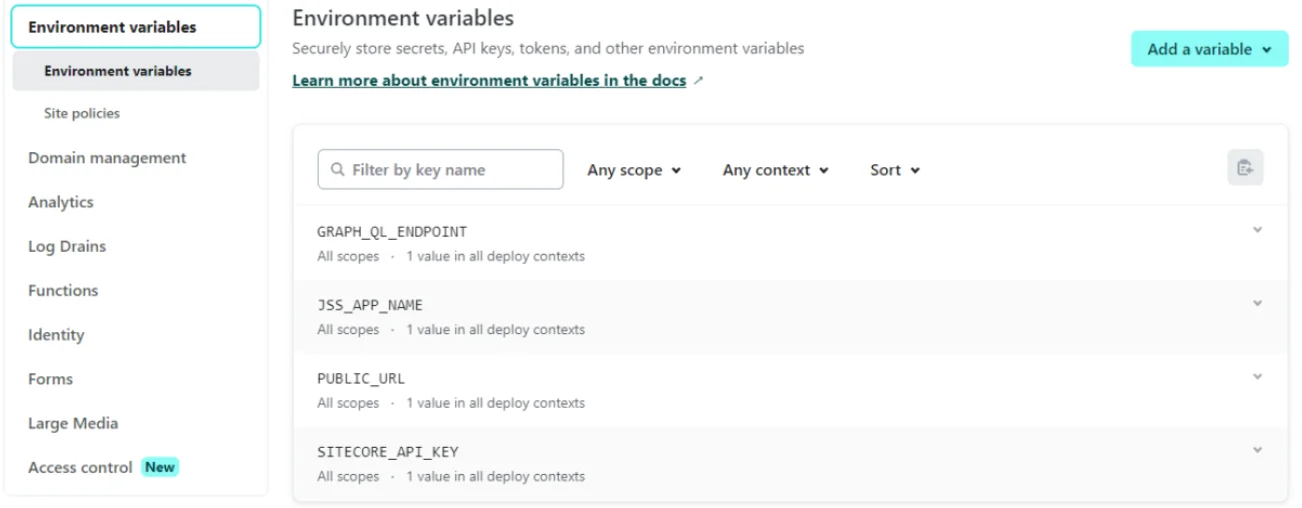
Environment variables
To proceed with the setup, it is necessary to create the required environment variables as
mentioned earlier. However, please note that in a free account, setting the scopes or contexts
for these variables may not be available. Nevertheless, you can still create the variables with
their respective values.
The environment variables that need to be created are as follows:
-
GRAPH_QL_ENDPOINT: Set this variable to the XM Cloud edge URL, typically in the format
of "https://edge.sitecorecloud.io/api/graph/v1".
-
JSS_APP_NAME: Specify the Site name in Sitecore.
-
PUBLIC_URL: This variable should be assigned the generated URL for your site on Netlify.
For instance, if your site's name is "sitename", the URL may look like
"https://sitename.netlify.app/".
-
SITECORE_API_KEY: Generate the access token using the provided "New-EdgeToken.ps1" script
found in the repository mentioned earlier.
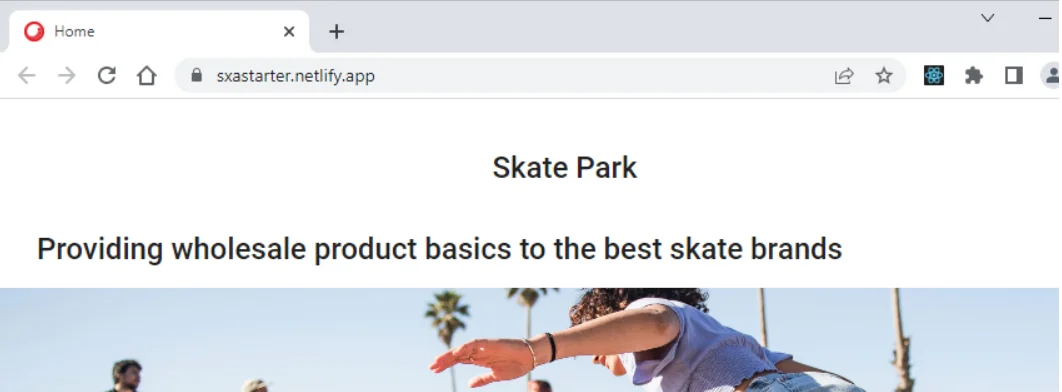
After setting up these environment variables, you will have a generated URL similar to "
<sitename>.netlify.app", such as in the case of "https://sxastarter.netlify.app/".
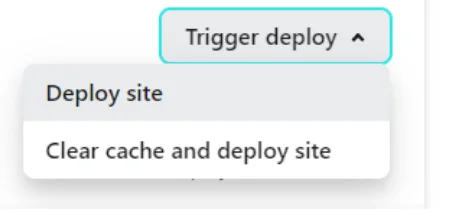
Now that everything is set up, you can proceed to trigger a deploy by accessing the "Trigger
deploy" option located in the deploy menu.
If the deployment is successful, you will see a deploy log similar to the following:
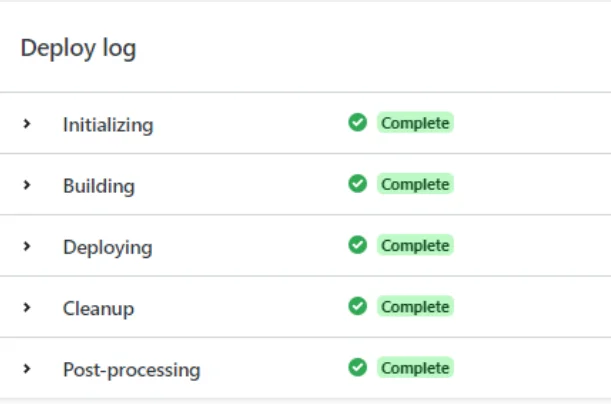
In case any issues arise during the deployment, the log will indicate a failure and provide a
complete stacktrace of the error. This detailed error report can be quite helpful in
troubleshooting and resolving any deployment-related issues.
Local Deployment
To deploy the site locally and push the build to your Netlify cloud account, follow these steps:
-
Begin by installing the Netlify CLI. Open your command line interface and run the
following command:

-
Connect to your Netlify account by running either of the following commands:

or

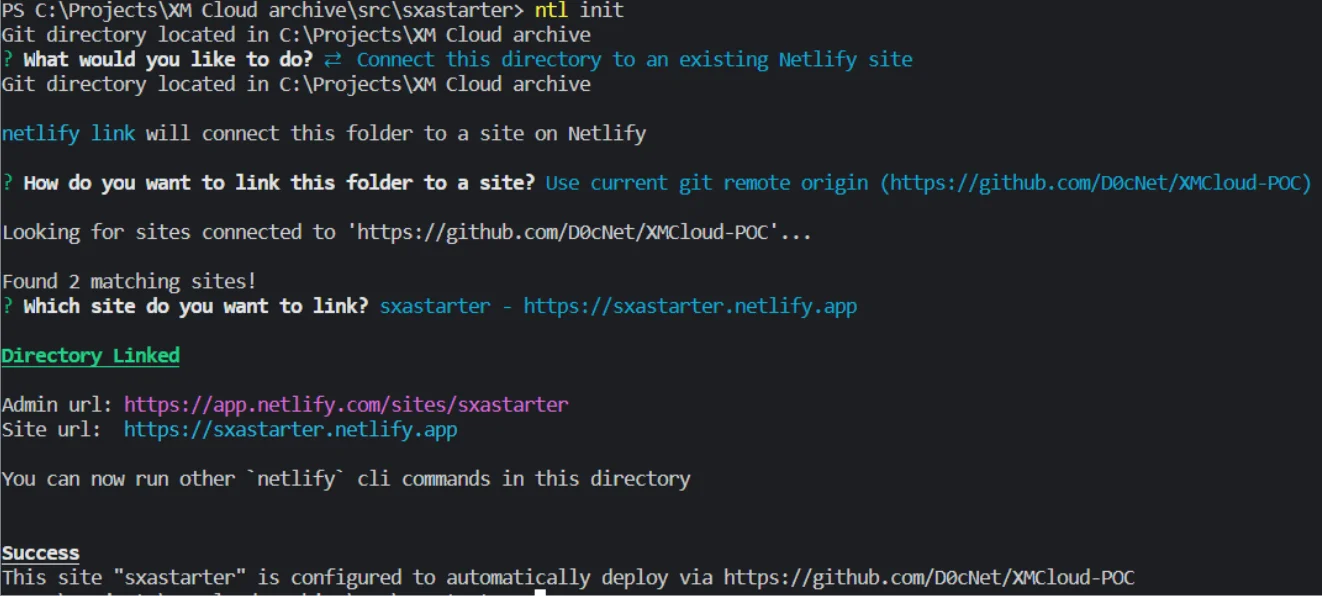
During this process, you will be prompted with a series of questions about your Netlify
account, such as the sites you want to use.
-
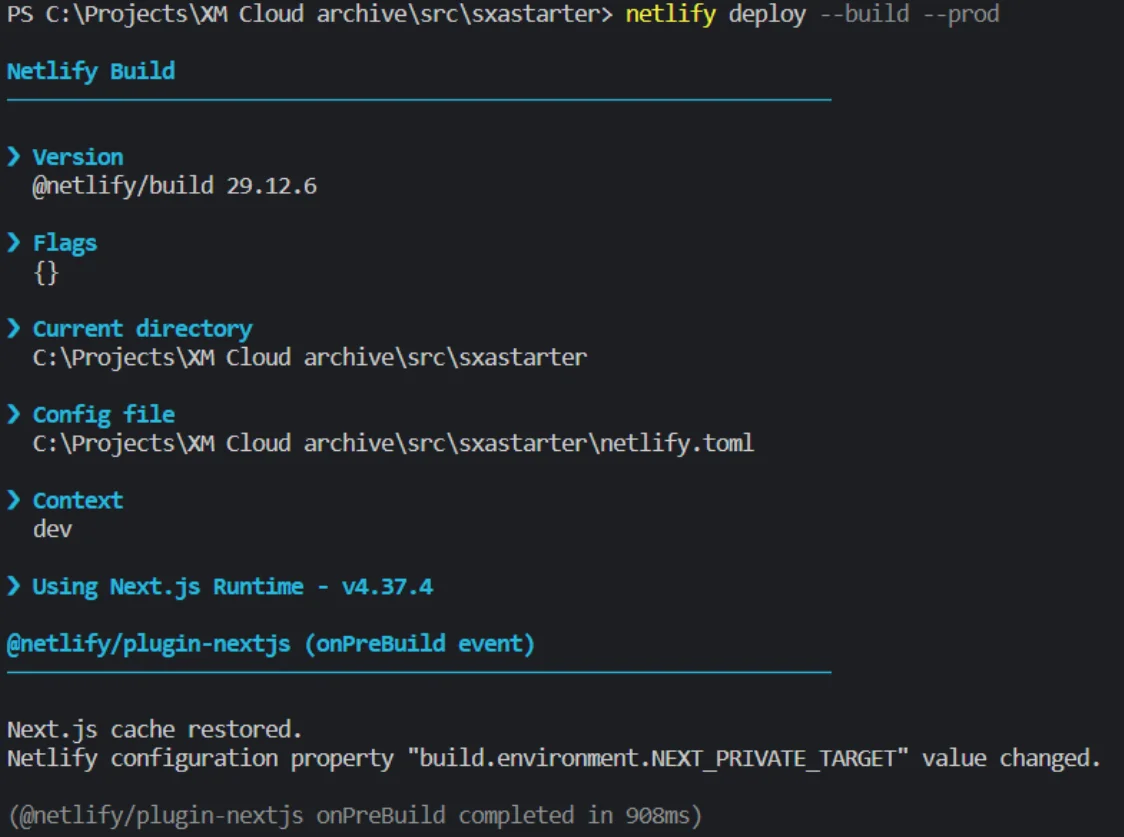
Next, build the local folder and assets. This process requires the same settings as the
build settings mentioned earlier on the Netlify website. You may be asked to specify the
build command and the deployed folder. For example, if using Next.js, the build command
could be:

The deployed folder, in this case, might be `.next`.
-
Finally, to build and deploy to your Netlify account, run either of the following
commands:

or

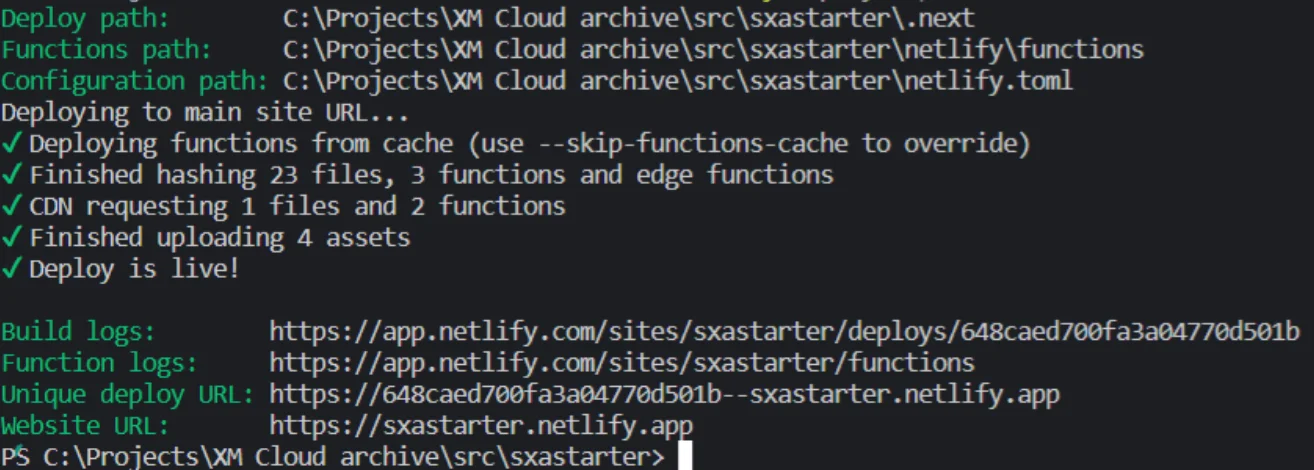
Upon successful deployment, you will be able to view your deployed website using the URL
generated by Netlify.
I hope this walkthrough of creating local and cloud deploys in Netlify was helpful. As mentioned
earlier, the process is similar to the experience with Vercel, and it is quite straightforward,
thanks to the feature parity between the two platforms.
 BACK TO
SERVICE LISTSitecore Module Development Add new features, extend new features, or even replace, supplement and provide new functionality to Sitecore. Sitecore CMP & MRM Through the Sitecore CMP & MRM, drive execution, workflow, operations and processes of your entire marketing team. Sitecore Ordercloud Create a dynamic eCommerce platform and future-proof your business for B2B, B2C, B2X or any other marketplace business model. Sitecore Discover Provide real-time, personalized search results and recommendations for every individual shopper, all in one place.
BACK TO
SERVICE LISTSitecore Module Development Add new features, extend new features, or even replace, supplement and provide new functionality to Sitecore. Sitecore CMP & MRM Through the Sitecore CMP & MRM, drive execution, workflow, operations and processes of your entire marketing team. Sitecore Ordercloud Create a dynamic eCommerce platform and future-proof your business for B2B, B2C, B2X or any other marketplace business model. Sitecore Discover Provide real-time, personalized search results and recommendations for every individual shopper, all in one place.